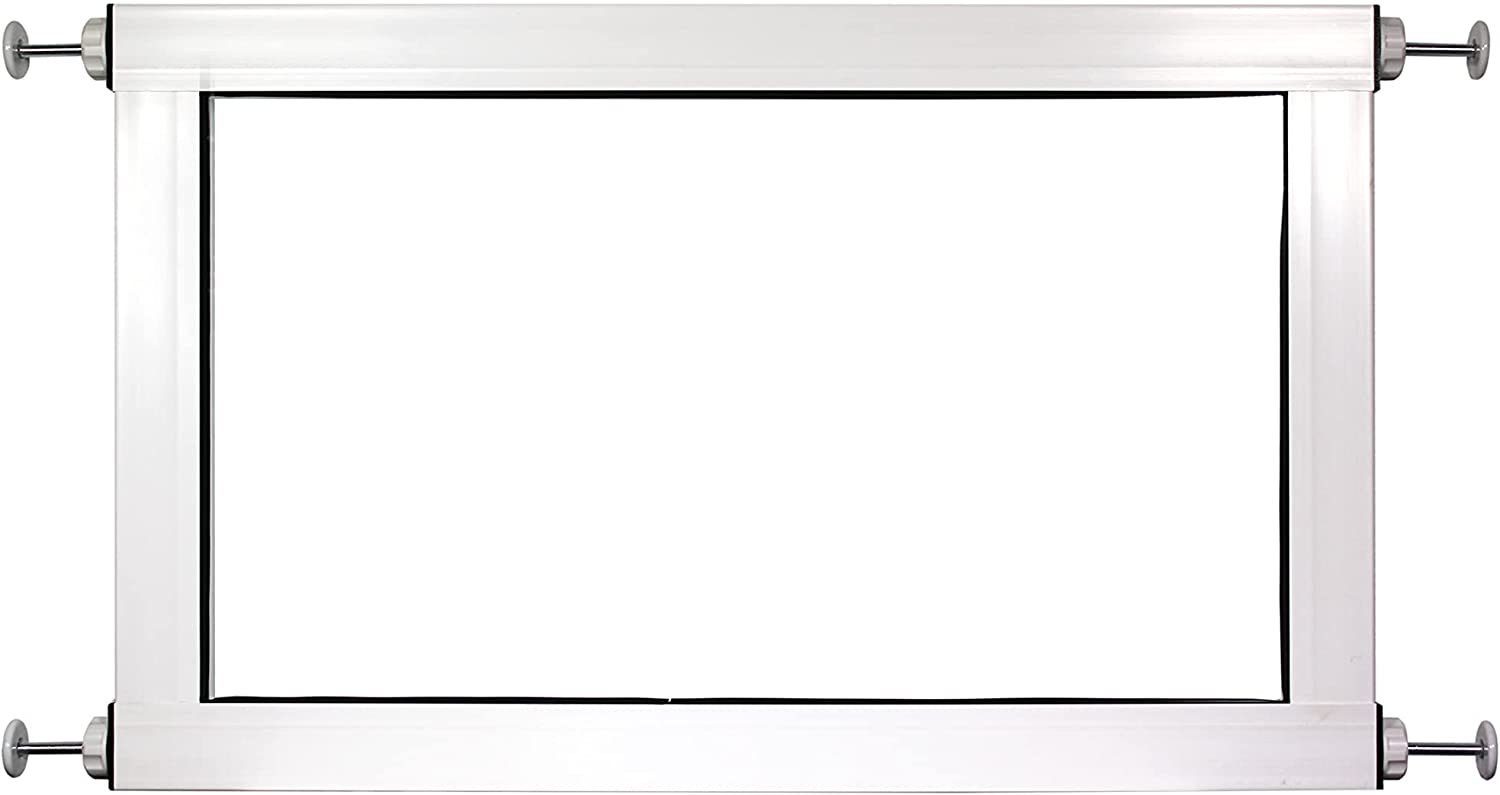
ClearVis Stepover Pet Gate Installation Instructions
Installation Instructions
 Difficulty
Low
Difficulty
Low
 Steps
6
Steps
6
 Time Required
0.5 hours
Time Required
0.5 hours
 Sections
01
Sections
01
 Flags
00
Flags
00
Parts
- 4 Screws
- 1 1/8" Drill bit
- 1 Gate
- 4 Wall shields
- 4 Spindles with adjustment wheels
Tools
- Pencil
- Power drill
- Screw driver
Please read instructions & notes thoroughly before installation.
Step 1 Insert Spindle Rods


- Take each spindle rod and attach the adjustment wheel. Insert spindle roads into each corner of the gate.
Step 2 Gate Placement

- Place your gate into the opening. Rotate the adjustment wheels on the spindle rods until the rubber foot is flat against your wall.
Step 3 Wall Shield Placement


- Use a pencil to trace the rubber foot on each wall. Remove the gate from the doorway. Use the wall shield to mark each drill location.
Step 4 Drill Hole For Wall Shield

- Use a power drill to make a ⅛” hole at each of the four screw markings using the included drill bit.
Step 5 Install Wall Shield

- Install the wall shields by lining up the hole in each wall shield with the hole drilled into the wall. Secure the wall shield into place with a screw. Repeat for each wall shield.
Step 6 Install Gate

- Install your pet gate. Place the gate in the doorway and rotate the adjustment wheel until each of the spindles are secured in the wall shields.